2.2. Running a Linux desktop#
There are many ways [1] to run a Linux desktop on your computer:
Install a Linux distribution
Run Linux as a virtual machine
Run Linux in the cloud
I will discuss option 2 in this book, as it is a lot easier for new users to get started.
2.2.1. Running Linux as a virtual machine#
To run virtual machines of other operating systems (guests) on your computer (host), you will need to first install a hypervisor — software that runs virtual machines.
Examples of hypervisors include VirtualBox, Parallels, VMware Workstation etc., I will use VirtualBox in this book (Fig. 6).
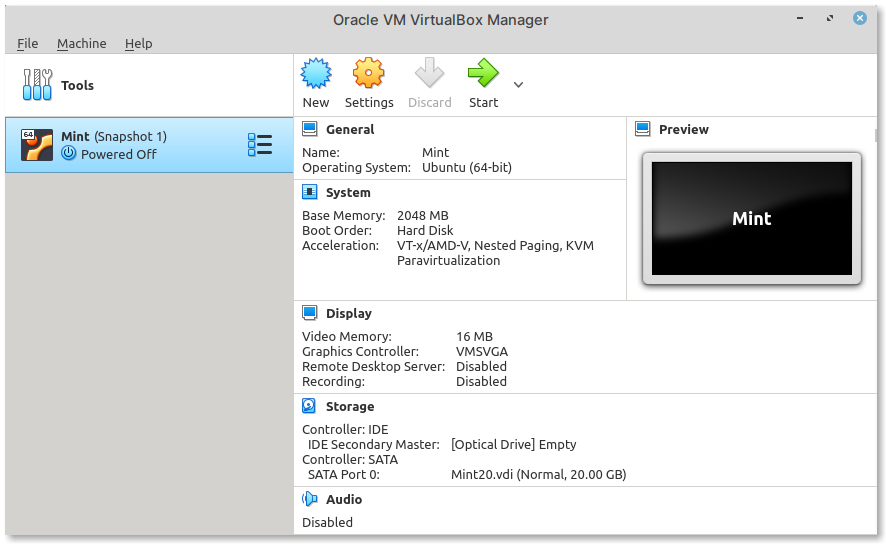
Fig. 6 Main window of VirtualBox#
Requirements#
VirtualBox installed on your computer#
You can install VirtualBox by following the instructions below depending on your operating system.
Attention
Installing software will require administrator privileges.
Instructions for macOS and Windows
You can download an installer for macOS or Windows from the Downloads section of the VirtualBox website (Fig. 7).
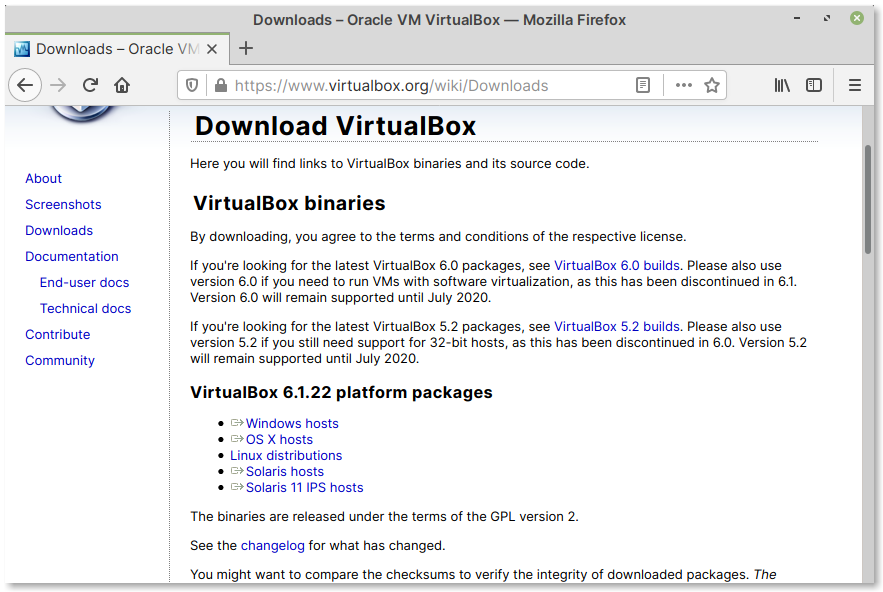
Fig. 7 VirtualBox downloads page#
Instructions for Linux distributions
Most Linux distributions include VirtualBox in their package repositories. It is recommended you install it using your package manager like Synaptic or apt, dnf etc.,
For example, to get VirtualBox working on Ubuntu 20.04 LTS,
you will need to install the virtualbox and
virtualbox-guest-additions-iso packages.
Note
If you cannot install from repositories, you can download an installer from the Linux Downloads section of the project website.
Virtual machine image of Linux Mint#
A virtual machine image of Linux Mint is distributed along with this e-book. You can can download it from SourceForge, using the link below.
Download: linuxmint-20.1.ova
It is distributed as an OVA format file.
In the page that appears, click on the
linuxmint-20.1.ova link. This will download the
file to your computer.
Importing the virtual machine image#
Open VirtualBox on your computer and then follow the steps below to import the downloaded virtual machine image.
Step 1 — Select OVA file#
From the main window of VirtualBox, select:
(Fig. 8)
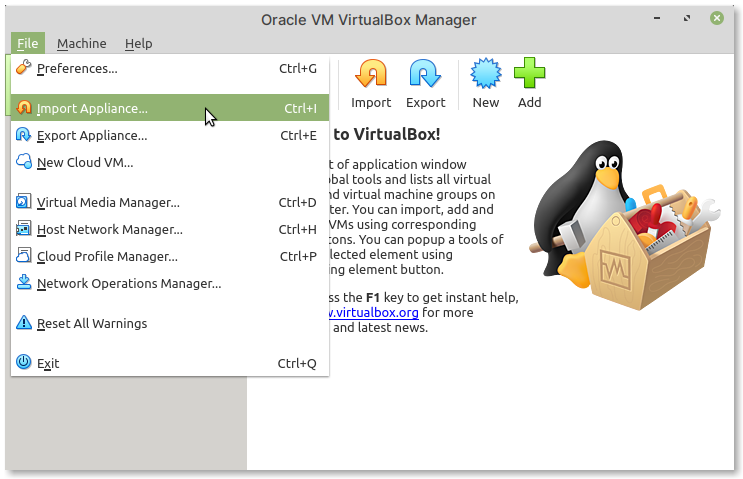
Fig. 8 Select File –> Import Appliance from the menu#
In the Appliance to import screen, click on the button that appears next to the File entry field (Fig. 9).
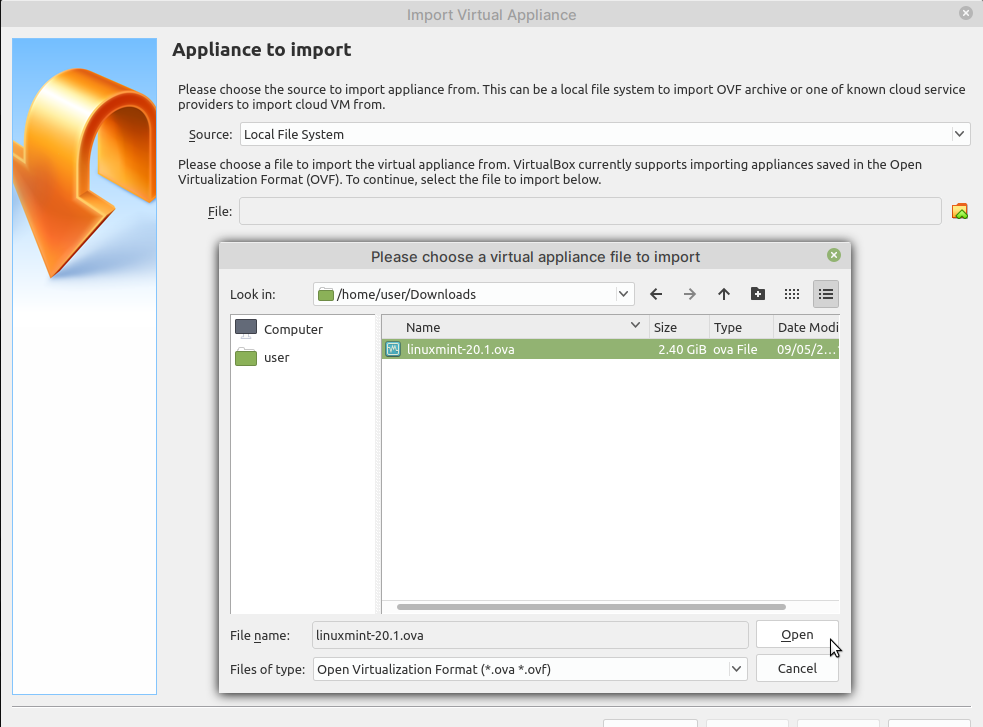
Fig. 9 Click on the button that appears next to the File entry field#
Browse to the location of the linuxmint-20.1.ova
file, select it, and then click on the Open
button.
The File entry field will now have the complete path to the selected file (Fig. 10).
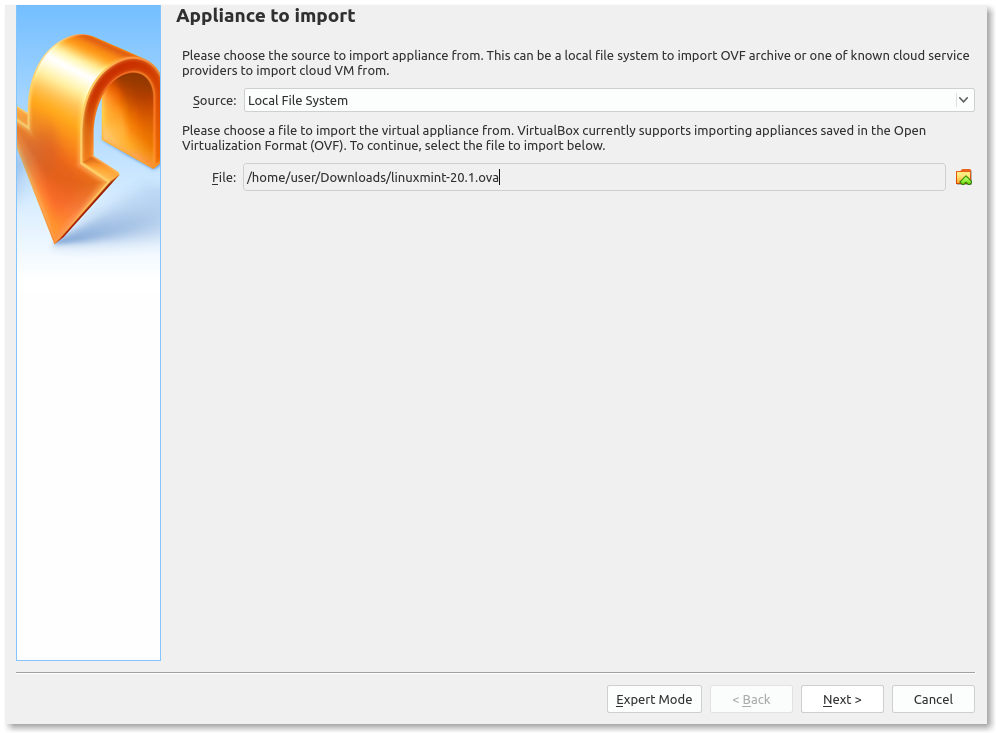
Fig. 10 Click on the Next button to proceed#
Click on the Next button to proceed.
Step 2 — Adjust appliance settings (optional)#
In the next screen — Appliance settings (Fig. 11), you can modify the configuration of this virtual machine.
Note
This step is optional.
You can click on the Import button at the bottom to proceed to the next step.
For example, you can add more CPU or RAM for this virtual machine, depending on the configuration of your computer.
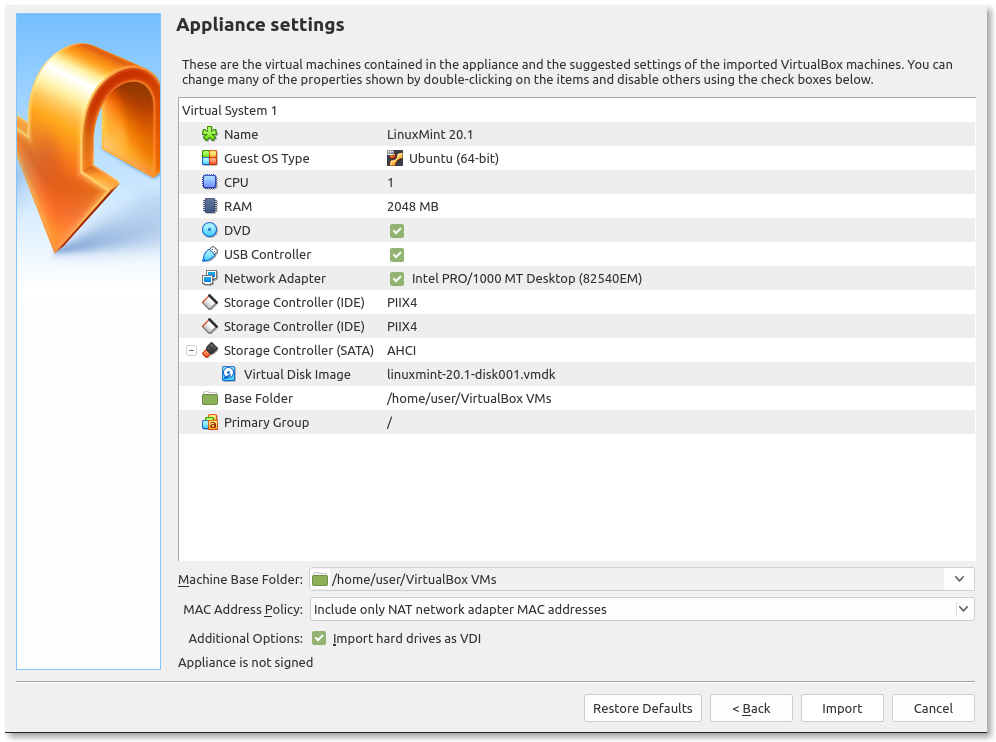
Fig. 11 Appliance settings screen#
Click on the Import button to proceed.
Step 3 — Import progress and completion#
You will notice a progress bar at this stage (Fig. 12).
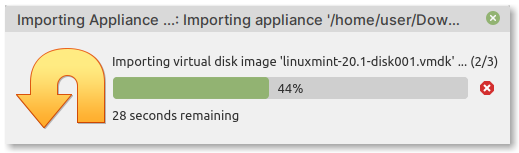
Fig. 12 Virtual machine import progress#
When import is complete, you will be taken back to the main window of VirtualBox.
The imported virtual machine — LinuxMint 20.1, will appear in the panel on the left (Fig. 13).
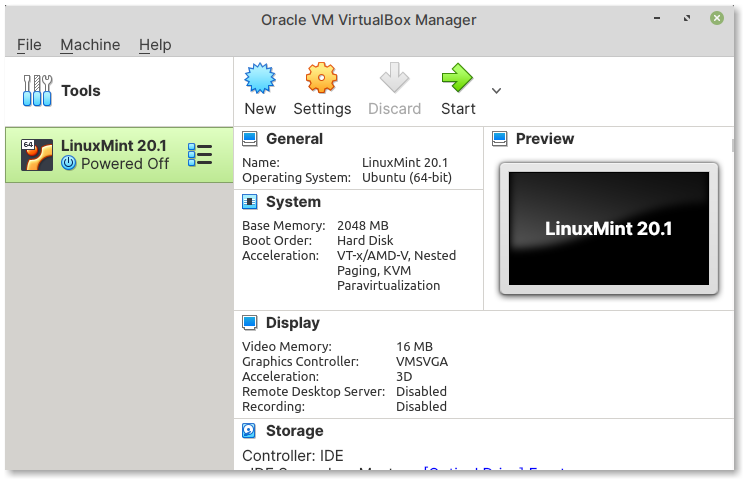
Fig. 13 Imported virtual machine#
Starting the virtual machine#
To start the virtual machine, select LinuxMint 20.1 and then click on the Start button in the main toolbar (Fig. 14).
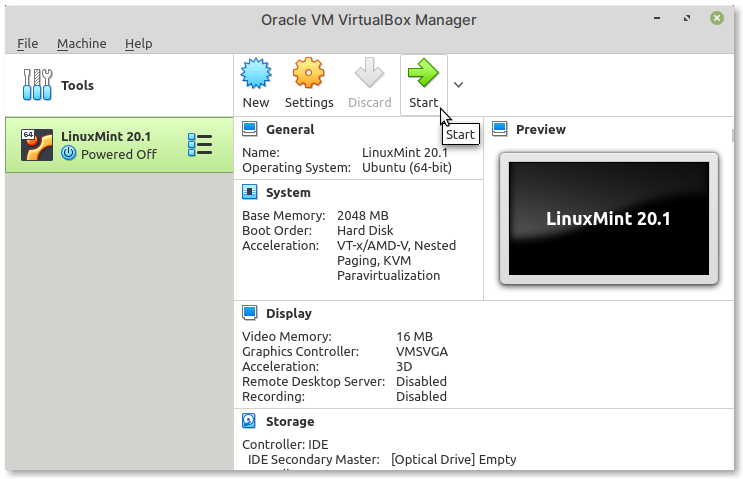
Fig. 14 Start virtual machine#
Once the boot process is complete, you will be logged in directly to the desktop (Fig. 15).
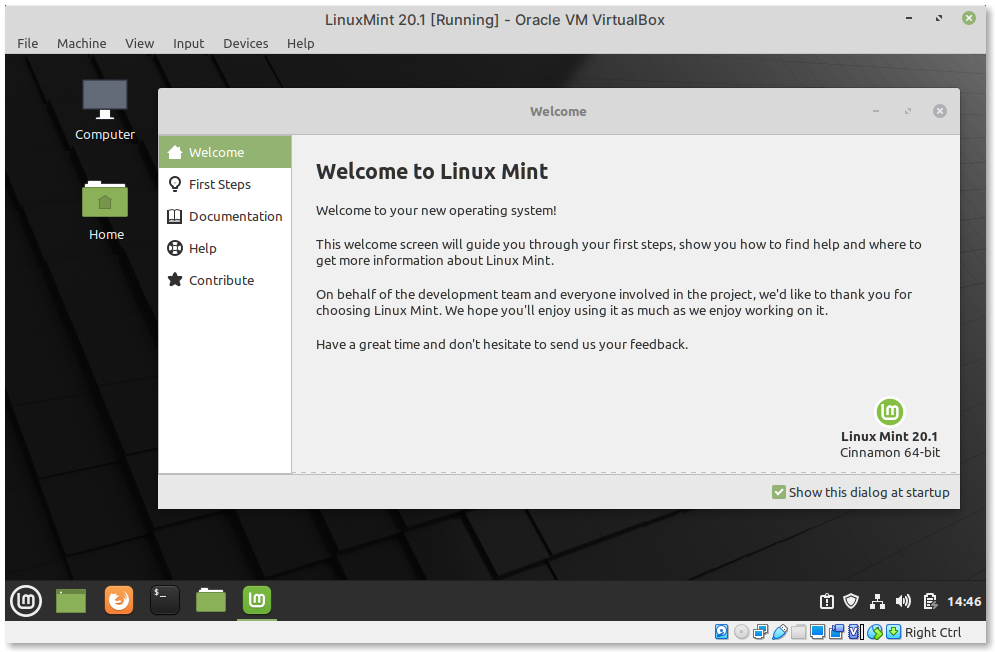
Fig. 15 The Linux Mint desktop#
For reference, the default username is
user and password is also user.
Stopping the virtual machine#
When your work is complete, you can shut down the virtual machine by clicking on the Quit button in Linux Mint’s Applications Menu.
This will display a confirmation dialog (Fig. 16).

Fig. 16 Confirmation dialog for system shutdown#
Click on the Shut Down button to stop the virtual machine.
2.2.2. The Desktop#
When you log in, you will be placed in the default desktop environment. In the case of Linux Mint, this is Cinnamon.
Note
If you are using the virtual machine image distributed with this book, the default user account for logging in to the virtual machine, is:
useruserIn its default configuration, the Cinnamon desktop includes the following components (Fig. 17):
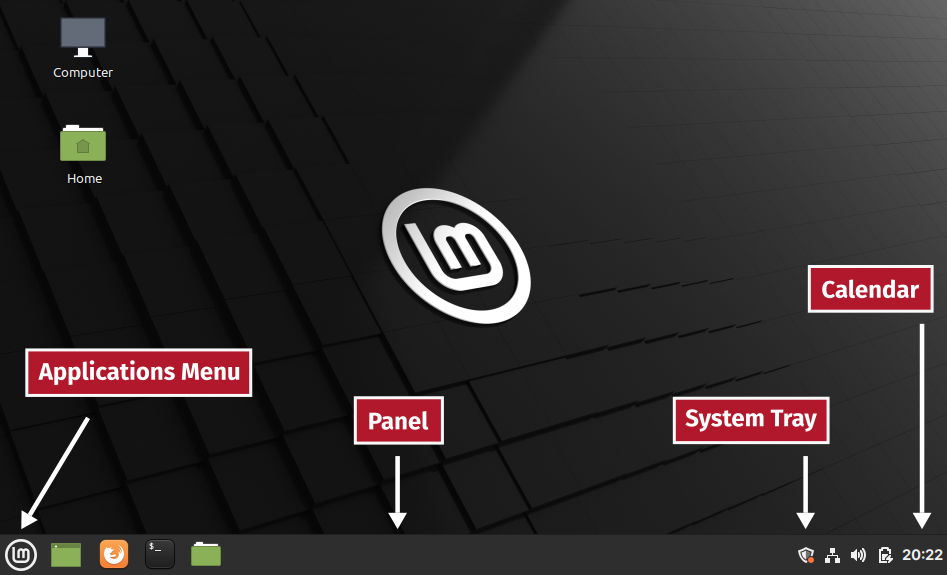
Fig. 17 Components of the Cinnamon desktop#
2.2.3. Changing system settings#
The System Settings application can be used to customize the desktop, the operating system and hardware (Fig. 18).
You can launch it from the applications’ menu.
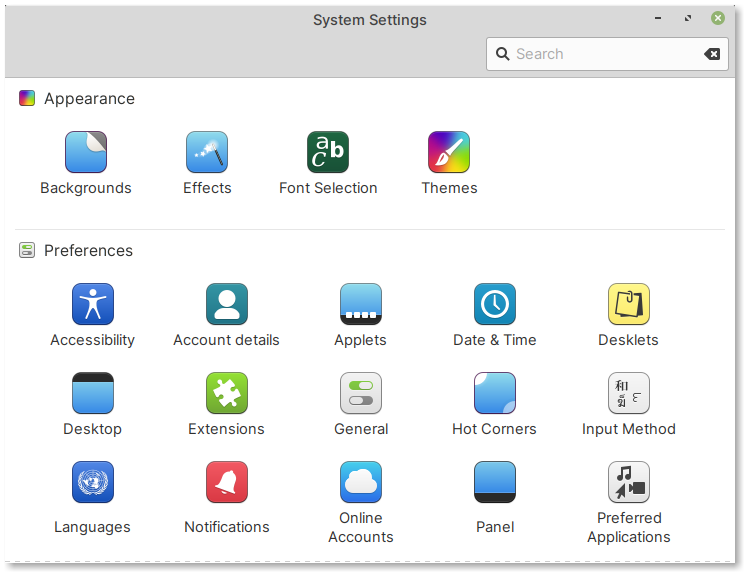
Fig. 18 System Settings application#
The settings you can configure here include accessibility, user accounts, date and time, keyboard layout, language, network, display and more.
Changing keyboard layout#
The default keyboard layout of the virtual machine is English (US).
You can change this under:
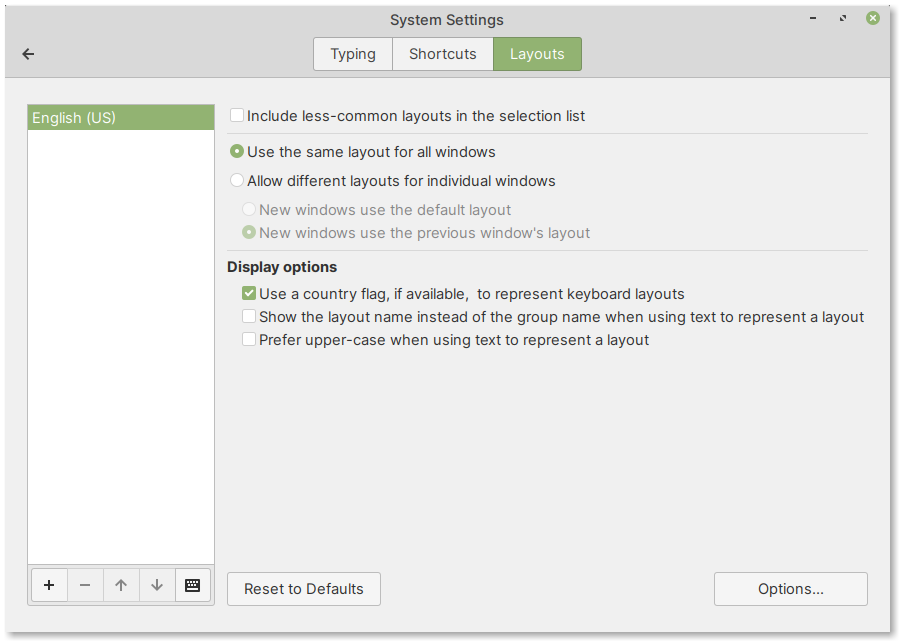
Fig. 19 Keyboard layouts in System Settings#
Changing system date and time#
The system date and time can be updated by selecting:
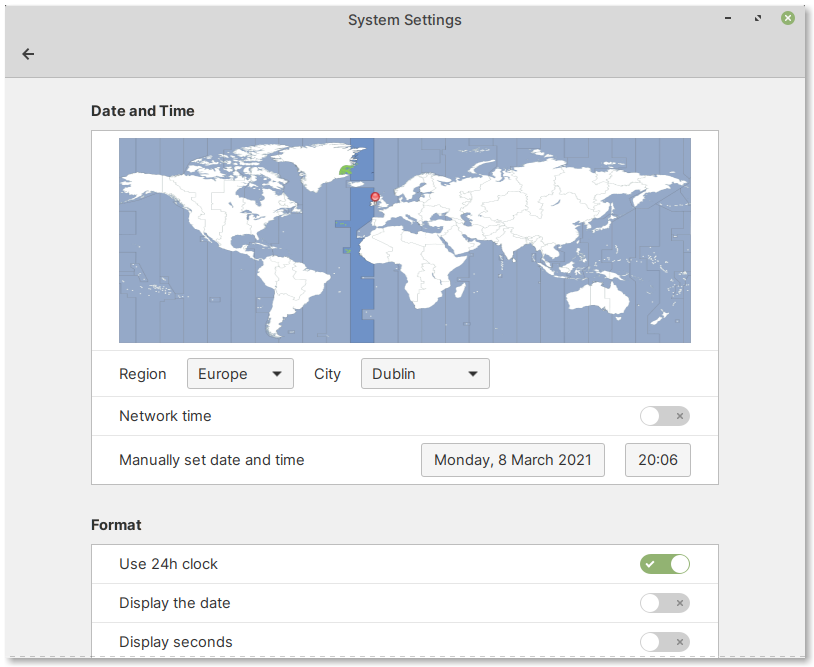
Fig. 20 Date and time settings#
Comments